So you have already created a Donation campaign on the E-commerce platform, and now you want to make your “Donate” button as noticeable as possible. The best option would be to add it right to the main menu of your network.
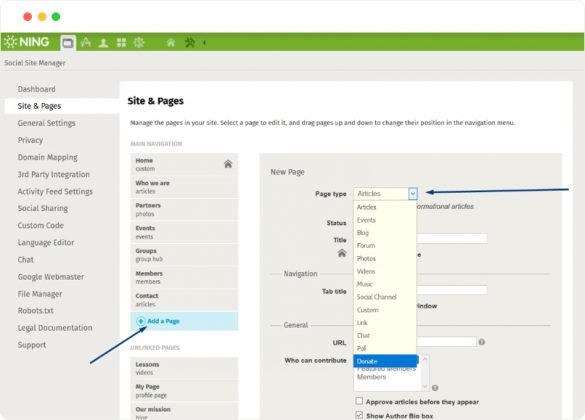
Let’s start by adding a new page (type: Donate) in the Social Site Manager.
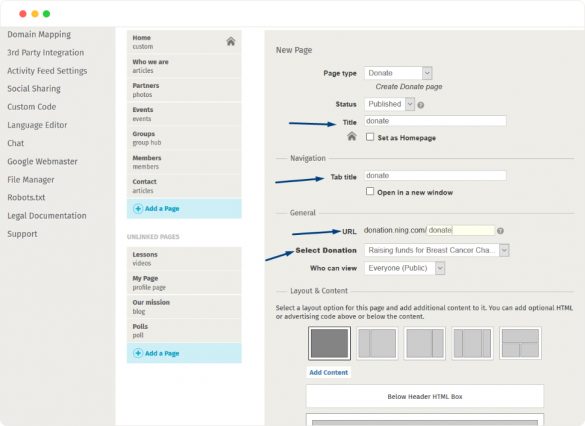
Fill in all the necessary fields including “Title” and “URL”; then choose a required Donation campaign in the drop-down list.
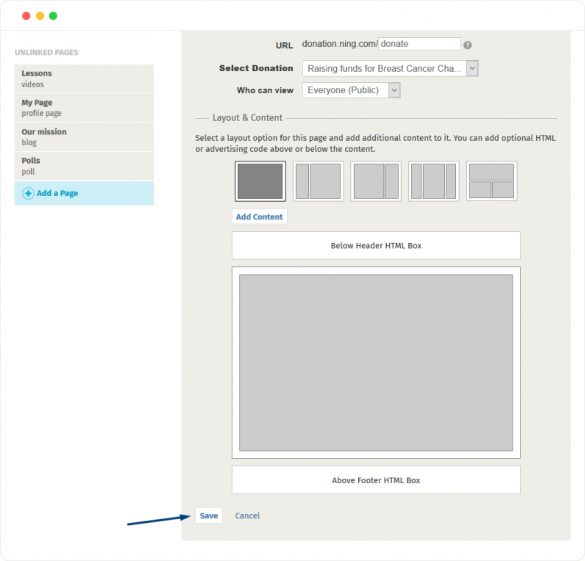
Don’t forget to save all the changes.
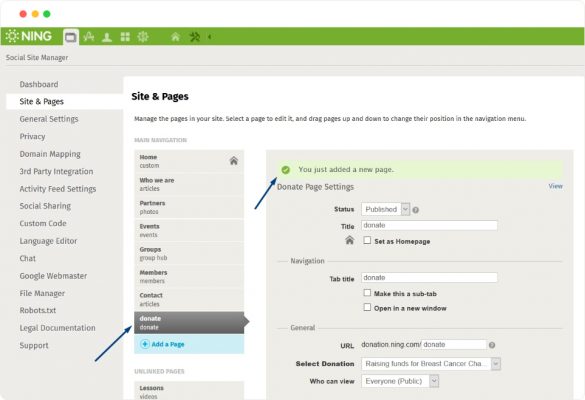
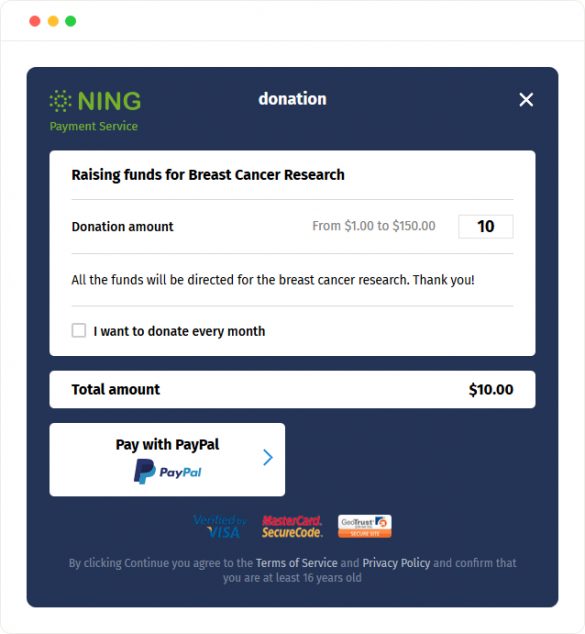
Now, when we open the main page of our network, we will see a new “Donate” tab in the main menu. This tab works as a button. Once you click it, you will see a payment page linked to the Donation campaign you’ve created.
Whether you create a “Donate” menu tab or a “Donate” button, they both will lead a user to the same payment page.
Congratulations!
To learn how to create a Donation block with a “Donate” button, click here.


