Now, when you already know how to add a “Donate” button to an article, let’s see how to add it to any other network page that has an HTML block. This way, you can either add it to already existing blocks or create a new one that would describe your Donation campaign in detail.
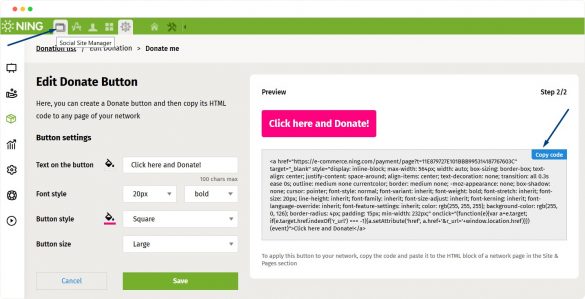
- Step 1. You have already copied the HTML code of your “Donate” button. Now, click the Social Site Manager icon on the green dashboard.
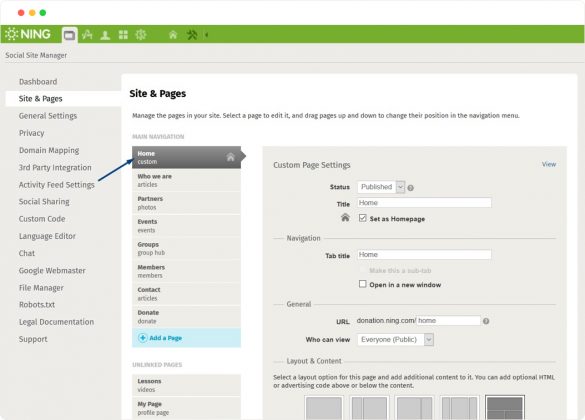
- Step 2. In the Social Site Manager, choose the “Site & Pages” section. This is where you can add new tabs and pages to your network. Let’s say you want to add your “Donate” button to the very first page of your network. Choose your homepage in the list of other network pages in the left menu.
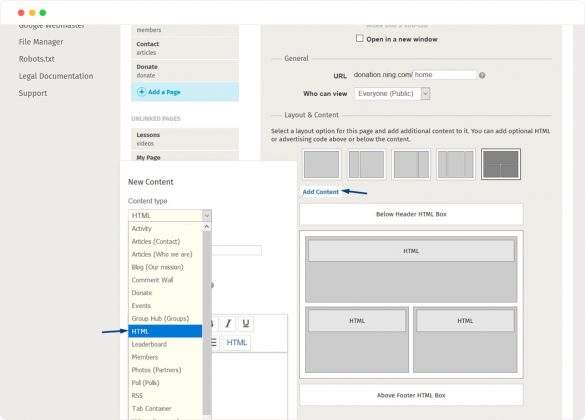
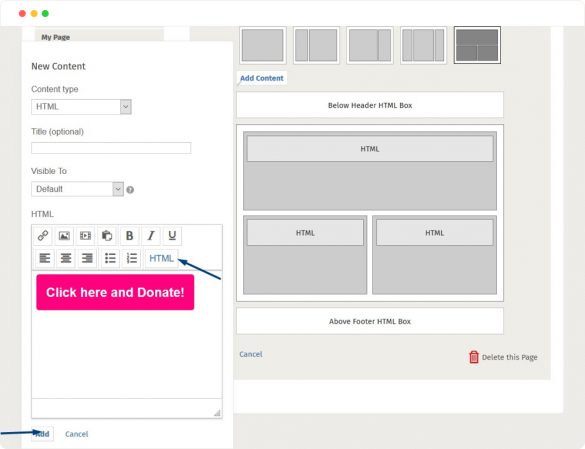
- Step 3. Click the button “Add Content” and choose the “HTML” type in the drop-down list.
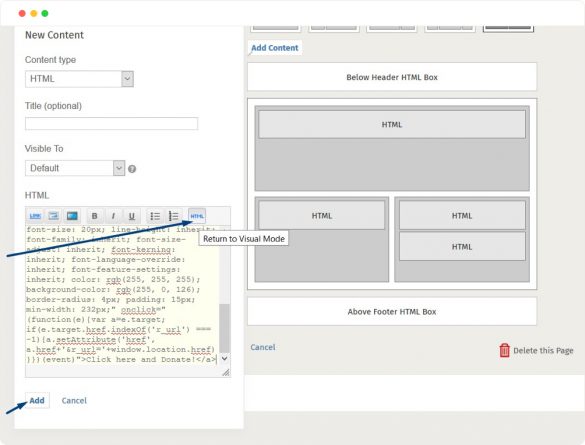
- Step 4. The following steps are the same as before: switch to the HTML mode on the editing menu and paste the Donate button code. To see how the button looks within the block, switch to the Visual Mode again. If you are satisfied with the result, click “Add”.
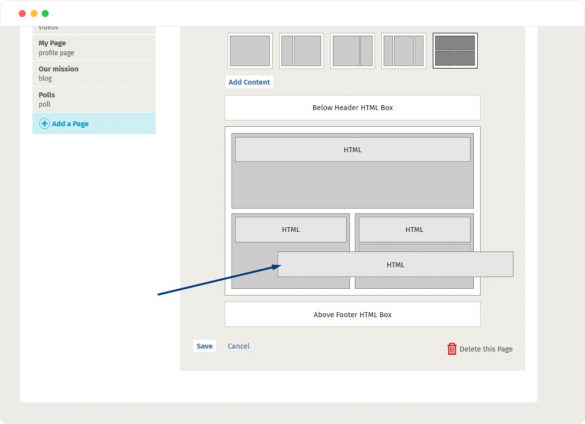
- Step 5. Your button is now placed right on the homepage of your network! Now you can drag and drop the block with your “Donate” button to the place where it will be most effective.
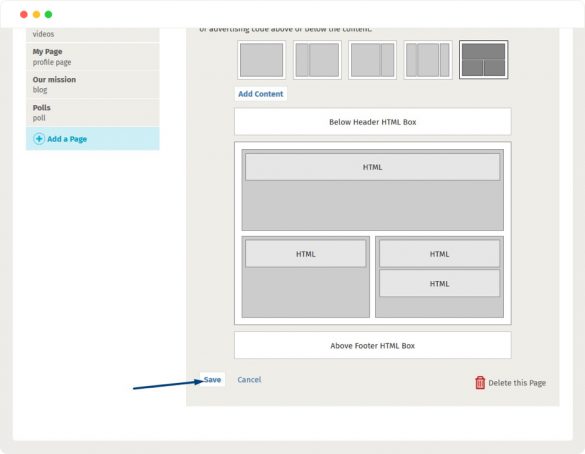
- Step 6. Drag the HTML block to a new place and click “Save”.
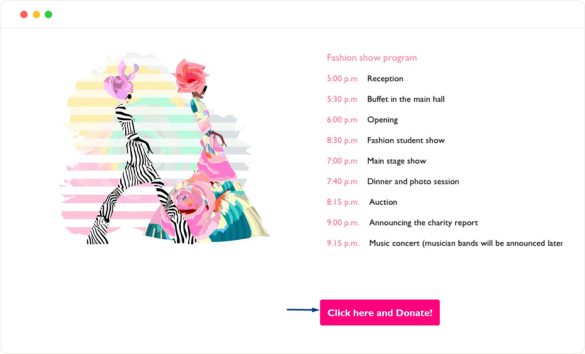
Let’s have a look at how your homepage looks now. Here is the button, right where we placed it! Now, if you have already added at least one payment method, this button will lead a user directly to the payment page.
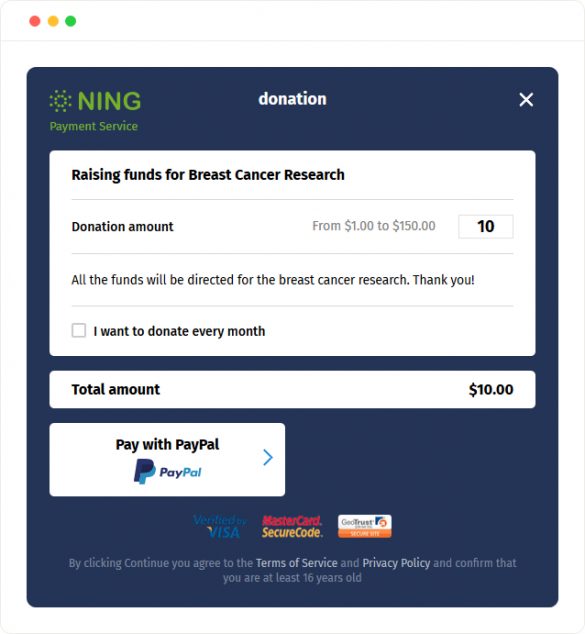
Once you click the button, you will see the Donation payment page.
Congratulations!
To learn how to create a Donation tab in the main navigation menu, click here.

