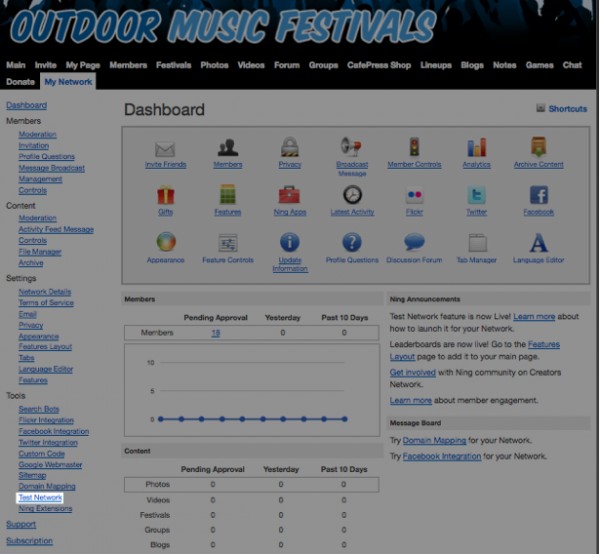
Test Networks are a great way to try out appearance and other modifications (such as CSS code) before they’re applied to your Live Ning Network and made visible to your members. To create your Test Network head to the My Network tab of your Live Ning Plus or Ning Pro Network. Under the “Tools” section of the left-hand navigation, click on the “Test Network” link.

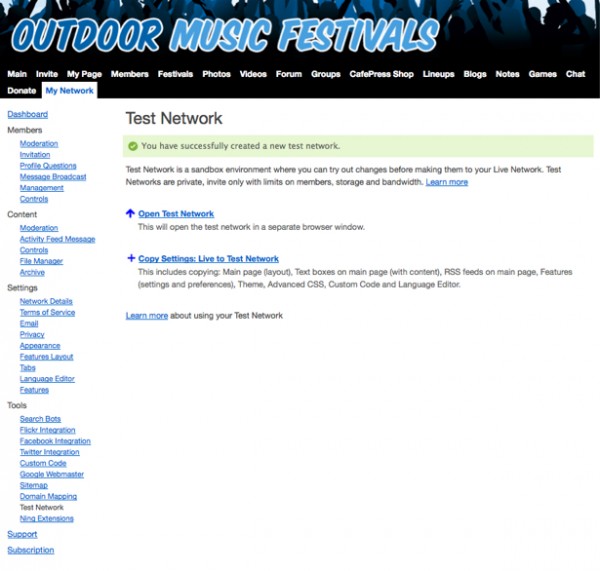
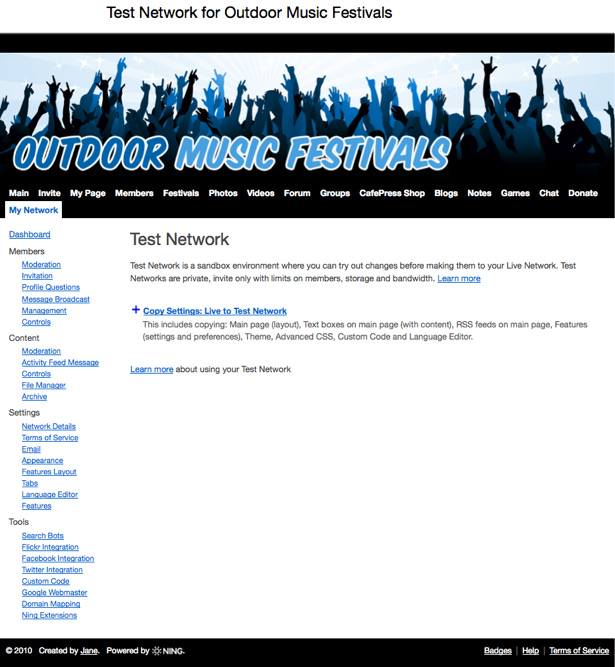
On the next page, click the “Create Test Network” link to launch your sandbox. When that page refreshes, you’ll see a link to open your Test Network. When you click this link, you will then be redirected to your new Test Network, where you’ll sign in with your Network Creator credentials to access that space.

You can head to the Invite tab to invite your administrators or other test accounts to become members of your Test Network. Once your Test Network is created, the “Test Network” link will become visible to your administrators in the My Network tab of your Live Network.

Adding custom code to your Appearance page, Custom Code box, text boxes and new pages, as well as any other modifications will behave exactly on your Test Network as they would on your Live Network. While there is not a way to transfer your changes directly from your Test Network’s settings to your Live network, you can reset your Test Network so that it reflects the most current settings of your Live Network.
When you create your Test Network the following will be carried over from your Live Network:
- Main Page layout
- Main Page text boxes and their content
- Main Page RSS feeds
- Feature settings and preferences
- Theme
- Advanced CSS
- Custom Code
- Language Editor
- File Manager (Ning Pro only)
When you click the “Copy Settings” link on your Live or Test Network the same features will be copied from your Live Network to refresh your Test Network. While other content will not appear automatically on your Test Network, it can be added manually for trying out formatting and other appearance changes, before they’re made active on your Live Network.
