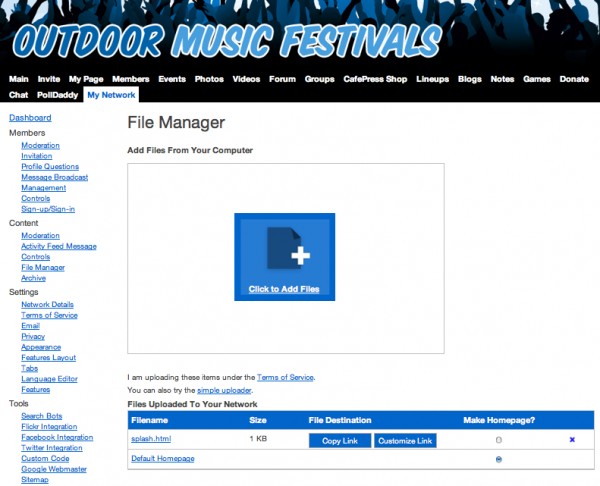
You can create and host your own HTML files with the File Manager. To upload your HTML (or .HTM) files, go to the My Network tab and click on File Manager under the “Content” section. You can click on the “Click to Add Files” button or use the simple uploader to begin uploading. You can also use the File Manager to store your other network files (such as image, CSS and JavaScript files).

You’ll also want to upload any files you’ve included on your webpage, otherwise the image will show up as a broken link.
Make sure to have the file link (“picture.jpg”) point to a file on your network (“http://yournetwork.ning.com/picture.jpg”), and not to a file on your home computer (“c://mydocuments/pictures/picture.jpg”).
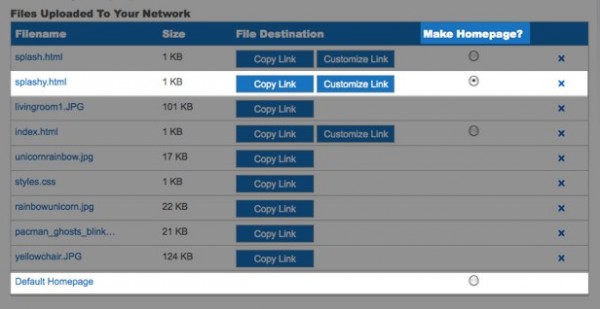
You have the option of making any webpage you upload your homepage, so that it loads when someone visits you at yournetwork.ning.com, instead of the Default Homepage. Your Default Homepage will then be accessible by going to yournetwork.ning.com/main. If ever you want to return to the default, just select the button next to it.
Please note that, should you decide to delete your HTML file at any point, you will need to first set the Default Homepage back as the homepage.
To delete a file you no longer want, just click the X, and you’re set!

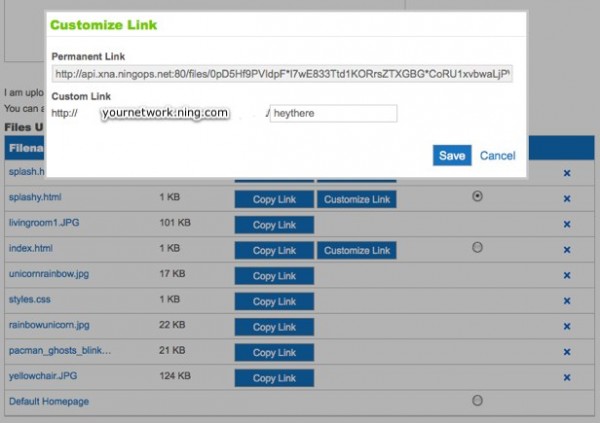
After you’ve uploaded everything, you can edit the URL of your new webpage. Just click on the “Customize Link” button next to the file, and change it to whatever you’d like—for example, yournetwork.ning.com/heythere.

Read more about customizing your URL here!
